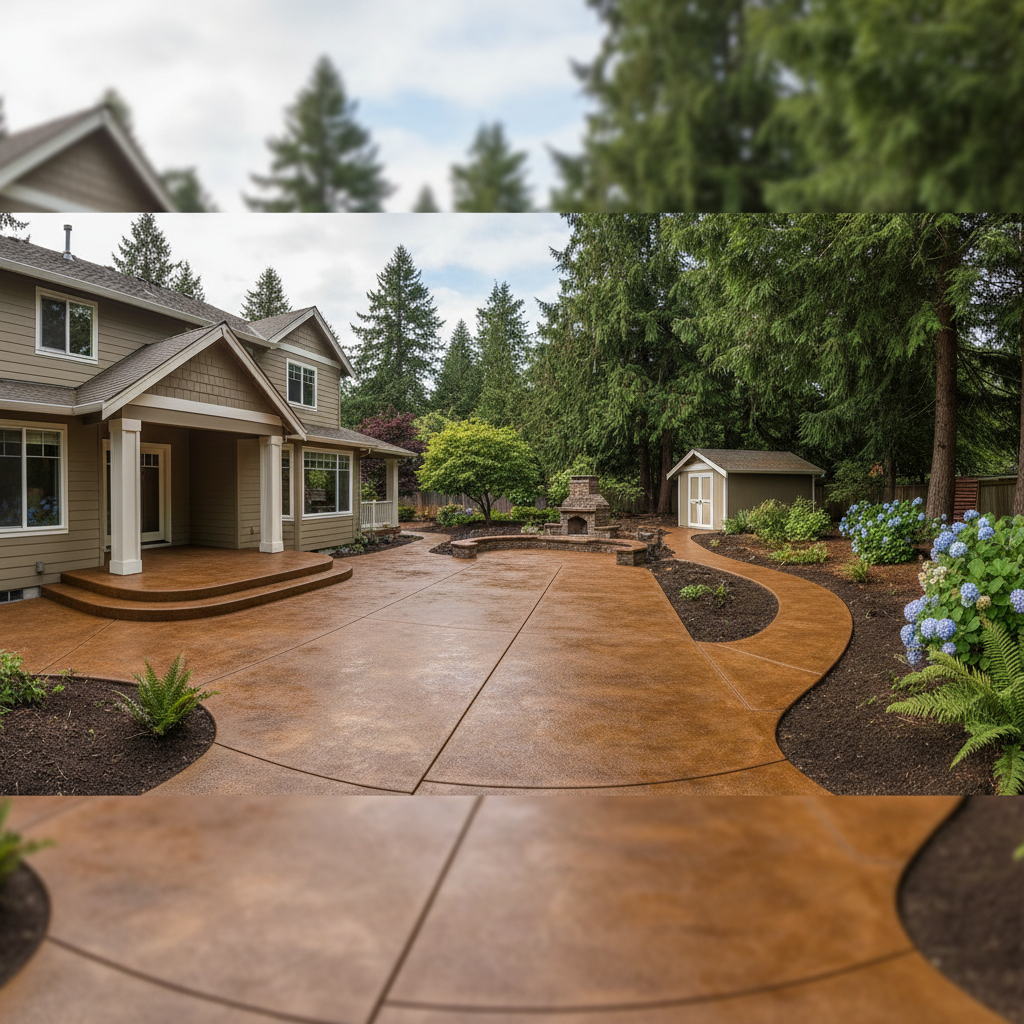
So, you're thinking about staining your concrete? Good call. It's a fantastic way to turn a boring old slab into something truly eye-catching, whether that's a patio, a driveway, or even an indoor floor. But, just like any good home improvement project, a little planning goes a long way. You really don't want to just jump into this blind. Here's what I tell folks right here in Bothell when they're considering a staining job.
Your Concrete Staining Timeline: What to Expect
Let's talk about how long this all takes. This isn't a quick weekend DIY project if you want it done right and looking good for years to come. From your first thought to that final seal, here’s a rough breakdown:
- Initial Research & Consultation (1-3 weeks): You're actually doing this part right now! Look into the different staining options out there – acid-based, water-based, dyes. Figure out the kind of look you're hoping for. Then, get a few contractors to come out and give you estimates. Don't rush this step, okay?
- Proposal Review & Contract (1-2 weeks): Once you have those bids, compare them. Ask plenty of questions. Make sure everything is crystal clear. Read that contract carefully before you put your name on it.
- Scheduling the Work (2-6 weeks out): Good contractors are always busy, especially during our drier summer months here in Bothell. Don't expect them to start tomorrow. You really need to plan ahead.
- Project Execution (1-5 days, depending on size): This is when the real transformation happens. Prep, stain, seal. How long it takes can vary quite a bit based on the size of the area and how complex the design is.
- Curing & Final Use (3-7 days after completion): The sealer needs some time to cure properly. You can usually walk on it fairly quickly, but you'll want to keep heavy furniture or vehicle traffic off it for a few days – sometimes up to a full week.
All in all, you're probably looking at a 6-12 week process from start to finish, assuming no big delays pop up.
What Happens During the Staining Process?
When we show up to stain your concrete, we aren't just slopping on some color. There's a real method to it, believe me. Here’s the general rundown:
- Cleaning & Prep: This is probably the most important step, hands down. The concrete absolutely has to be spotless. We're talking power washing, degreasing, getting rid of any old sealers, paint, or gunk. Any oil stain or old paint chip will show right through the stain, and that just won't look good. We'll also mask off nearby walls, landscaping, and anything else we don't want stained.
- Surface Etching (sometimes): For certain types of stain, or if the concrete is super dense, we might need to etch the surface a bit to open up its pores. This helps the stain soak in better.
- Stain Application: This is where the color actually goes on. We usually apply it with a sprayer, brush, or roller, depending on the type of stain and the look you're going for. Often, we need multiple coats to get that perfect depth of color.
- Neutralization & Rinsing (for acid stains): If it's an acid stain, we'll neutralize it with an alkaline solution and then rinse it thoroughly. This stops the chemical reaction and cleans off any leftover residue.
- Drying: The concrete needs to dry completely between coats and before we put on the sealer.
- Sealing: Once the stain is dry and looking good, we apply a high-quality sealer. This protects the stain, really makes the color pop, and adds durability. Sometimes, we'll even do two coats of sealer.
It's a pretty detailed process, and skipping any steps just leads to a bad outcome. We simply don't cut corners here at Bothell Concrete Solutions.
How to Prepare Your Space for Staining
So, you've got a contractor lined up; what's next? Well, you've got a little homework to do before they even arrive:
- Clear the Area: Move all your furniture, planters, grills, toys, vehicles – absolutely everything – off the concrete surface. If it's a garage floor, empty it out completely.
- Trim Landscaping: If it's an exterior job, trim back any bushes or plants that are right up against the concrete. This gives us room to work and helps prevent any overspray.
- Protect Nearby Items: While we'll do our best to mask things off, it's still a good idea for you to cover anything delicate or valuable that's close by, like outdoor art or patio heaters.
- Ensure Access: Make sure we have clear access to the work area, and if we need water or electricity, know exactly where those hookups are.
- Address Repairs: If your concrete has cracks or spalling, talk about this with your contractor ahead of time. Repairs need to happen *before* staining, and they might show up a little differently through the stain.
Doing these few things makes our job a lot easier and ensures a much smoother project for you.
Questions to Ask Before You Sign That Contract
Don't just sign on the dotted line without thinking. Make sure you ask these questions:
- What type of stain are you recommending, and why? Acid? Water-based? Dye? Each one has different characteristics and looks, you know.
- How will you prepare the surface? Get specific details. Pressure washing? Grinding? Etching?
- What kind of sealer will you use, and how many coats? This is super important for how long it lasts and how it looks. Ask about its UV resistance and slip resistance, too.
- What's the expected maintenance? How often will I need to reseal it? What cleaning products are safe to use?
- What's your warranty on the work? How long does it cover, and what exactly does it include?
- Can I see some examples of your past staining work? Photos are good, but if they can point you to a local job you can drive by, that's even better.
- What's your plan for protecting adjacent areas? How will you make sure my siding, plants, or brick don't get stained?
- What's the payment schedule? When are deposits due, and when do you expect the final payment?
- Are you licensed and insured for this type of work in Washington State? Always, always ask this.
Getting these answers upfront will save you a lot of headaches down the road. Staining concrete is a fantastic investment in your home's appearance and value. Just make sure you go into it with your eyes wide open, and you'll be absolutely thrilled with the results.